Chocolate-filled Jack-O’-Lantern Cookies for Halloween Delight 🍪🎃✨
1. Introduction
Celebrate the spooky season with these irresistible Halloween cookies that combine festive charm with delicious flavor. These seasonal desserts are a perfect treat for Halloween parties, trick-or-treating, or simply adding some spooky fun to your dessert table. The highlight of these delightful cookies is their adorable Jack-O’-Lantern faces filled with creamy chocolate goodness, offering a perfect blend of sweetness and festive cheer. Whether you’re a seasoned baker or a beginner, this step-by-step guide will help you create eye-catching, delectable festive cookies that everyone will love.
2. Ingredients for Chocolate-filled Jack-O’-Lantern Cookies
- 2 ½ cups all-purpose flour
- 1 teaspoon baking powder
- ½ teaspoon salt
- ¾ cup unsalted butter, softened
- 1 cup granulated sugar
- 1 large egg
- 1 teaspoon vanilla extract
- 1 cup semi-sweet chocolate chips (for filling)
- Orange food coloring (optional, for decorating)
- Black decorating icing or edible markers (for faces)
3. Step-by-Step Instructions for Making Halloween Cookies
Preparing the Cookie Dough
In a medium bowl, whisk together the all-purpose flour, baking powder, and salt. In a large bowl, beat the softened butter and sugar until light and fluffy. Add the egg and vanilla extract, mixing until well combined. Gradually incorporate the dry ingredients into the wet mixture until a smooth dough forms. Cover the dough and chill in the refrigerator for about 30 minutes.
Rolling and Cutting the Cookies
Preheat your oven to 350°F (175°C). Roll out the chilled dough on a floured surface to about ¼-inch thickness. Use Halloween-themed cookie cutters, such as pumpkins or Jack-O’-Lantern shapes, to cut out the cookies. Place the cut-outs on a lined baking sheet.
Baking the Cookies
Bake in the preheated oven for 8-10 minutes, or until the edges are slightly golden. Allow the cookies to cool completely on a wire rack before decorating.
Filling and Decorating
Melt the chocolate chips in a microwave-safe bowl, stirring every 20 seconds until smooth. Spread or pipe a small amount of melted chocolate onto the bottom of one cookie, then top with another cookie to make a sandwich. Use additional melted chocolate to fill the centers or pipe chocolate into the hollowed-out pumpkin faces when decorating. Use black icing or edible markers to draw spooky faces on the Jack-O’-Lanterns, enhancing the festive look. For added Halloween flair, you can tint the cookie dough with orange food coloring before baking.
4. Storage Tips for Halloween Cookies
Store these festive cookies in an airtight container at room temperature for up to 3 days, or refrigerate for up to a week. For longer storage, freeze the cookies in an airtight container for up to 3 months. Ensure the chocolate filling is completely cooled and set before stacking to prevent smudging.
5. Serving Suggestions for Spooky Halloween Treats
Arrange your seasonal desserts on a Halloween-themed platter or decorating them with additional edible decorations like sprinkles or colored sugar. For a fun presentation, display them alongside mini pumpkins or Halloween-themed paper cups. These cookies pair wonderfully with hot cider, pumpkin spice lattes, or a festive punch to create a full Halloween celebration experience.
6. Frequently Asked Questions about Halloween Cookies
Can I make these cookies gluten-free?
Yes, substitute the all-purpose flour with a gluten-free flour blend. Ensure your chocolate chips are also gluten-free for an allergy-friendly treat.
Can I use milk or white chocolate instead of semi-sweet?
Absolutely! Using milk or white chocolate can add different flavor profiles and make the treats even more fun and colorful.
How long does it take to prepare these Halloween cookies?
The entire process, including chilling and baking, takes approximately 1.5 to 2 hours, making it an enjoyable activity for an afternoon Halloween baking session.
7. Kitchen tools that you might need for this recipe
To make your festive cookies perfect, consider investing in some helpful kitchen tools. Check out the Compact 6-in-1 Digital Air Fryer for quick baking or crisping, or the T-fal 14-Piece Nonstick Cookware Set to ensure even baking and easy clean-up. These tools will make your baking process smoother and more enjoyable, transforming your Halloween treats into professional-looking delights.
8. Conclusion
These Halloween cookies with their adorable Jack-O’-Lantern faces and delicious chocolate filling are a must-have for your festive celebration. They combine creative design, seasonal flavors, and easy-to-follow steps that make baking fun and rewarding. Whether served at trick-or-treat parties or as a special dessert for your family, these spooky treats will surely be a hit. Get your baking gear ready, and enjoy creating these charming and tasty Halloween delights that everyone will love!
Print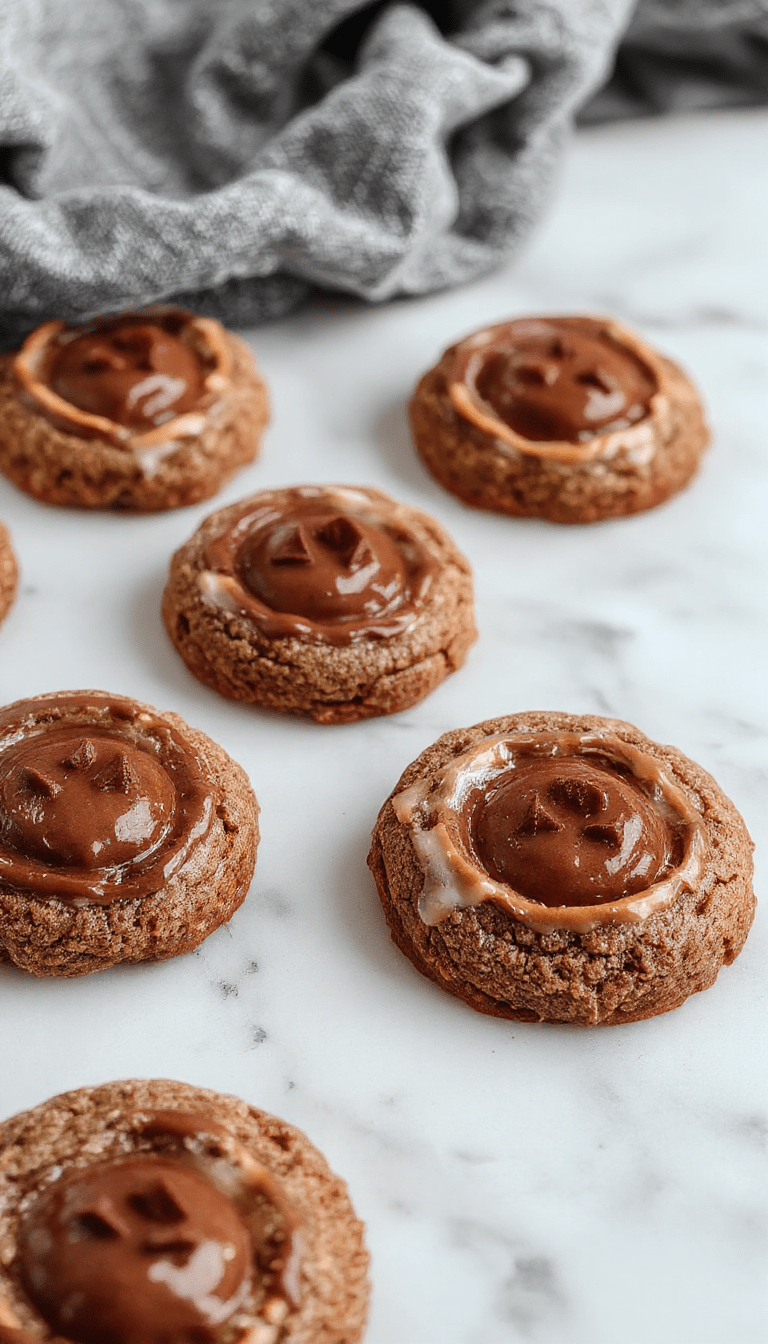
Chocolate-filled Jack-O’-Lantern Cookies for Halloween Delight
Festive pumpkin-shaped cookies filled with creamy milk chocolate, decorated with icing to resemble Jack-O’-Lanterns, perfect for Halloween. These cookies combine the sweet, buttery flavor with a luscious chocolate surprise inside, making them an ideal seasonal treat.
- Total Time: 32 minutes
- Yield: 20 cookies
Ingredients
- 2 1/2 cups all-purpose flour
- 1/2 teaspoon baking powder
- 1/4 teaspoon salt
- 1/2 cup unsalted butter, softened
- 1 cup granulated sugar
- 1 large egg
- 1 teaspoon vanilla extract
- Orange gel food coloring
- Milk chocolate for filling
- Black and orange icing for decoration
Instructions
- Preheat oven to 350°F (175°C). Line baking sheets with parchment paper.
- Mix flour, baking powder, and salt in a bowl.
- Cream butter and sugar until light and fluffy. Add egg and vanilla, then mix until combined.
- Add dry ingredients gradually, mixing well. Divide dough in half.
- Color one half orange with gel food coloring. Roll out the orange dough to 1/4 inch thickness and cut into pumpkin shapes using cookie cutters.
- Shape small balls from the plain dough for the base of the pumpkin faces or details.
- Place pumpkin shapes on baking sheet. Hollow out the centers slightly to create space for chocolate.
- Fill centers with small pieces of milk chocolate.
- Bake for 10-12 minutes until edges are lightly golden. Allow cooling.
- Decorate with black icing for faces and orange icing for accents if desired.
Notes
- Ensure chocolate remains centered during baking by filling before baking.
- Use different icing tips for cute pumpkin faces and details.
- Store cookies in an airtight container for up to 3 days.
- Prep Time: 20 minutes
- Cook Time: 12 minutes
- Method: Baking
- Cuisine: American
- Diet: Vegetarian
Nutrition
- Serving Size: 1 cookie
- Calories: 150 Kcal
- Sugar: 12g
- Sodium: 35mg
- Fat: 8g
- Saturated Fat: 5g
- Unsaturated Fat: 2g
- Trans Fat: 0g
- Carbohydrates: 20g
- Fiber: 1g
- Protein: 2g
- Cholesterol: 10mg